Easy Homemade Bao Buns: Single-Proofing for Fluffy, Smooth Results
Imagine biting into a pillowy-soft, slightly sweet, and utterly tender steamed bun, perfectly cradling a savory, flavorful filling. That, my friends, is the irresistible charm of a homemade bao bun. Once an elusive treat found only in bustling Asian kitchens or specialty restaurants, these delightful parcels have taken the culinary world by storm. Many believe achieving that signature fluffy, smooth texture at home is a daunting task, but what if we told you there's a foolproof method that requires minimal kneading and just a single proofing? Get ready to unlock the secret to crafting perfect, restaurant-quality Master Pillow-Soft Bao Buns: Your Foolproof Guide to Steamed Perfection right in your own kitchen.
The Allure of Bao Buns: A Culinary Journey
The journey of the bao bun is as rich and fascinating as its taste. While its roots are deeply embedded in Asian culinary traditions, its global popularity has soared, making it a beloved dish across continents. The most iconic origin story traces back to Taiwan, where the From Taiwan to Your Table: The Global Rise & Versatility of Bao Buns, or Gua Bao, gained fame. This delectable creation traditionally features a tender, steamed bun filled with succulent red braised pork belly, pickled mustard greens, and a sprinkle of crushed peanuts.
However, the concept of steamed, filled buns is not exclusive to Taiwan. In mainland China, similar buns have existed for centuries, often referred to as "lotus leaf hamburgers" due to their folded shape and versatility, akin to certain regional specialties like those found in Shanxi cuisine. These versatile steamed buns are cherished for their ability to complement a vast array of fillings, from rich stir-fries and slow-braised meats to sweet pastes and custards. Growing up, the arrival of bamboo steamers often signaled a special occasion, transforming the kitchen into a hub of activity centered around making these delightful baozi (the general term for Chinese steamed buns). While once considered labor-intensive, the joy of crafting these fluffy wonders at home makes it a truly special culinary experience.
Unlocking the Secret: Single-Proofing for Perfect Bao Buns
The secret to incredibly easy homemade bao buns lies in a streamlined, single-proofing method. Forget the long, arduous hours typically associated with yeast doughs. This technique minimizes hands-on time and optimizes the dough's texture for that desired smoothness and fluffiness. The key principle here is control: by managing the dough's temperature and hydration, we prevent premature fermentation, allowing for a perfectly smooth surface to form during the shaping process.
Many home cooks shy away from making bao buns, fearing complex steps or dense results. But our method, requiring only limited kneading and a single rise, demystifies the process. Once you master this foundation, you'll be able to create perfectly smooth and pillow-soft bao buns every time, ready to embrace any filling your heart desires.
Essential Ingredients for Fluffy Bao Buns
Understanding the role of each ingredient is crucial for achieving the perfect bao bun texture:
- All-Purpose Flour: This is your base. For an even more incredibly fluffy and tender texture, you can experiment by substituting up to 1/3 of the all-purpose flour with cake flour. Cake flour has a lower protein content, which results in a softer crumb.
- Yeast: The lifeblood of your dough! Yeast is responsible for producing the carbon dioxide bubbles that make your buns rise and become wonderfully light and airy.
- Cold Water: This is a game-changer for smooth bao buns. Using cold or chilled water (especially if your kitchen is warm, above 28°C/82°F) slows down the yeast's initial activity. This allows you ample time to fully knead and shape your dough before the yeast starts producing too many gas bubbles, which can lead to a less smooth surface.
- Oil: Whether you choose traditional lard (for an authentic Chinese flavor profile), butter, or a neutral vegetable cooking oil, oil acts as a tenderizer and moisture agent in the dough. It helps create a softer, more pliable texture.
- Sugar: While you won't taste sweetness in the final savory bao bun, a small amount of sugar is vital. It acts as "food" for the yeast, boosting its activity and contributing significantly to a more vigorous rise and, consequently, a fluffier bun.
Step-by-Step Guide to Crafting Your Bao Buns
With our ingredients understood, let's dive into the practical steps for creating those irresistible homemade bao buns.
Mixing the Dough: Simplicity and Precision
For single-proofing doughs, a stand mixer is your best friend. It not only saves significant time and energy but also prevents your hands' warmth from prematurely activating the yeast or overheating the dough. If you don't have one, don't worry – vigorous hand kneading will also work.
- Begin by dissolving the yeast and sugar in the cold water. Let it sit for a few minutes until the yeast is fully hydrated and the mixture is slightly frothy. This "bloom" confirms your yeast is active.
- Pour this liquid mixture into your flour. With the stand mixer on low speed (or by hand), knead for about 1 minute until the ingredients just come together into a shaggy dough.
- Now, add your chosen oil. Continue kneading for another 10-12 minutes on medium speed until the dough becomes very smooth, elastic, and pulls away cleanly from the sides of the bowl. It should feel supple to the touch.
Shaping the Buns: The Key to a Smooth Surface
This stage is where we ensure that signature smooth bao bun surface. Minimal handling and careful technique are crucial.
- Lightly dust your work surface with a small amount of flour. Turn out your dough and gently shape it into a log. Divide the log into 6-8 equal portions, depending on your desired bun size.
- Take each small piece of dough and knead it individually for a couple of minutes. The goal here is to create a perfectly smooth, taut surface. Tuck the edges underneath, forming a smooth ball. This additional kneading of individual portions helps develop gluten evenly and eliminates any wrinkles, ensuring your final bun is impeccably smooth.
- Using a rolling pin, roll each smooth dough ball into an oval shape, about 5-6 inches long and 3-4 inches wide. The dough should be relatively thin, but not translucent.
- Place a small piece of parchment paper (cut to fit) in the center of the oval. This parchment paper is essential to prevent the top and bottom halves of the bun from sticking together during proofing and steaming, allowing you to open it up for filling later.
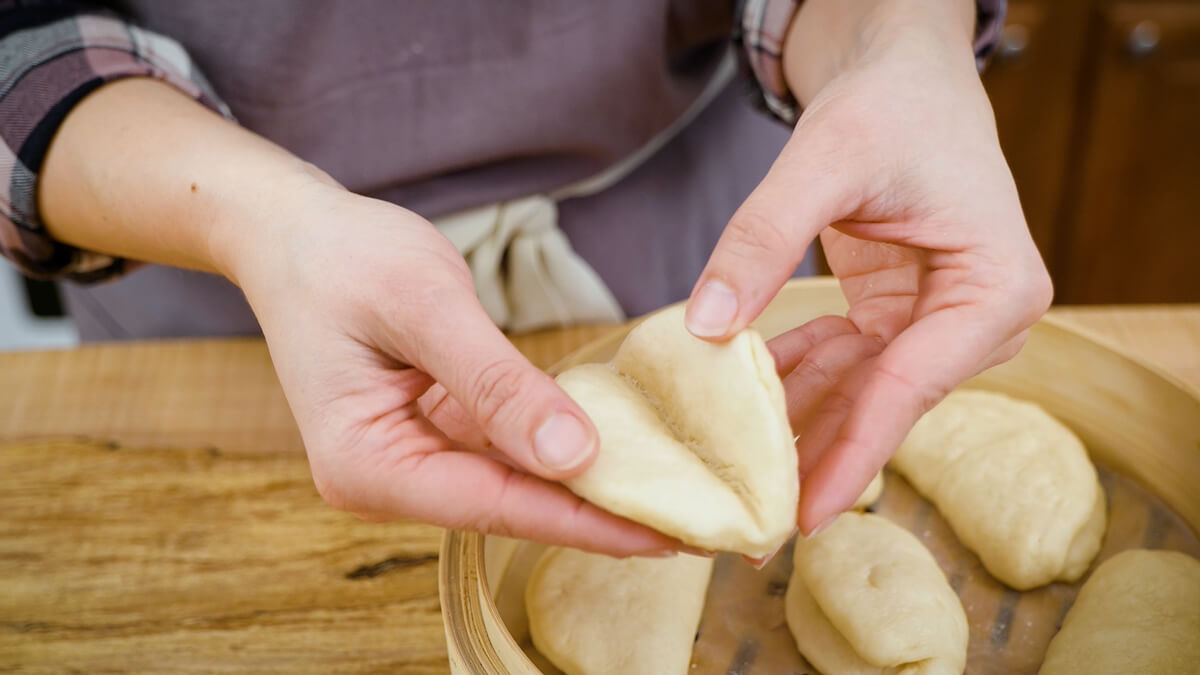
- Fold one half of the oval over the parchment paper to meet the other half, forming a half-oval shape. Gently press down on the folded edge to seal it slightly, but not too tightly, as it will need to expand.
The Single Proofing: Patience is a Virtue
Once all your bao buns are shaped, arrange them in your lined steamer baskets, ensuring there's enough space between each bun for expansion. For an optimal rise, create a warm, humid environment:
- Cover the steamer lid tightly and let the buns proof at room temperature until they have increased in size by about 1.5 times. This usually takes 45-90 minutes, depending on your ambient temperature.
- Pro Tip for Consistency: If your kitchen is cool, you can place the steamer in a turned-off oven with a cup of hot, steaming water. The warmth and humidity will create an ideal proofing environment.
- The "Float Test" for Proofing: A unique and reliable method to judge readiness is to place a tiny piece of leftover dough (about the size of a pea) into a cup of room-temperature water. When the dough starts to ferment and produces enough gas, that little piece will float to the surface. This indicates your main batch of buns has likely proofed sufficiently.
Steaming to Perfection
When the buns are perfectly proofed, it's time to steam them. Place your steamer basket over a pot of boiling water. Ensure the water is actively boiling before placing the steamer on top.
- Steam the buns for 10-15 minutes, depending on their size. It's crucial not to peek during the first 8-10 minutes, as releasing steam can cause the buns to collapse.
- Once steamed, turn off the heat and let the steamer rest for an additional 3-5 minutes before carefully lifting the lid. This gradual cooling prevents the sudden temperature change that can sometimes lead to wrinkling or deflating of the bao buns.
Filling Your Bao Buns: Endless Possibilities
Now for the best part: the fillings! With your perfect, pillowy homemade bao buns ready, the culinary world is your oyster. The classic Taiwanese Gua Bao features red braised pork belly, but don't stop there. Explore fillings like:
- Slow-cooked shredded chicken with hoisin sauce
- Spicy Korean gochujang pork
- Marinated tofu or mushrooms for a vegetarian option
- Sautéed shrimp with chili garlic sauce
- Even sweet fillings like red bean paste or taro paste for a dessert bao.
The beauty of these smooth, fluffy buns is their versatility. They're a blank canvas for your culinary creativity!
Conclusion
Making delicious, fluffy, and smooth bao buns at home doesn't have to be an intimidating endeavor. By following this single-proofing, minimal-kneading method, you can consistently achieve results that rival your favorite Asian eateries. From understanding the role of each ingredient to mastering the precise shaping and proofing techniques, you now possess the knowledge to create these delightful steamed buns with confidence. So, gather your ingredients, fire up your steamer, and prepare to impress your family and friends with your newfound bao bun prowess. Happy cooking!
